Framer CMS Explained for Beginners | What It Is & How to Use It
Last Updated on:
Author:
Framerbite
Framerbite

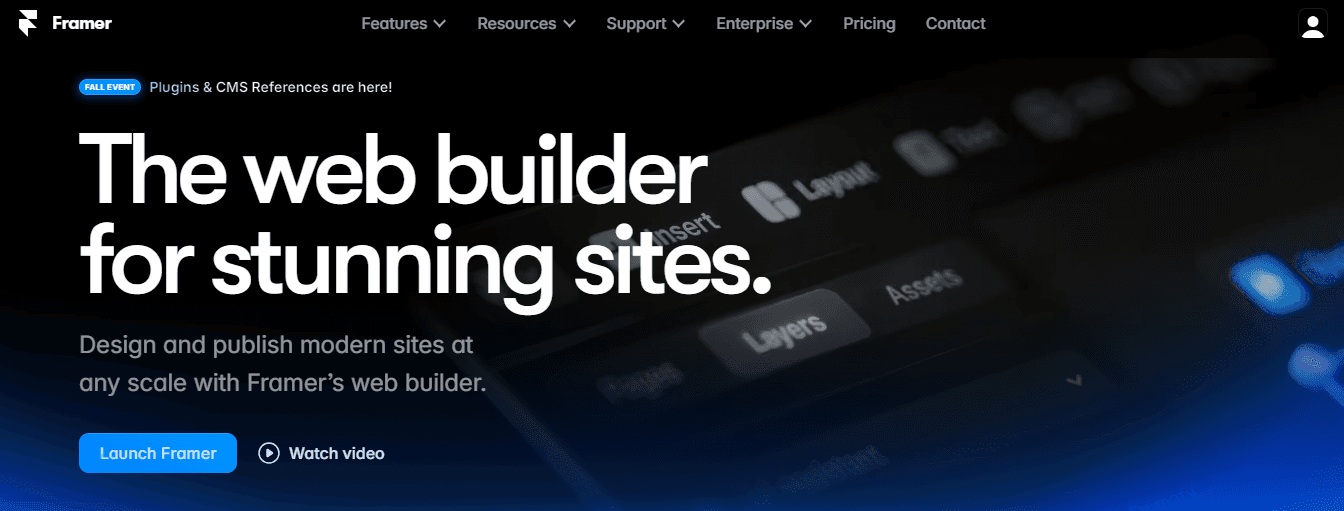
This blog is a simple guide to managing content in Framer for beginners. Framer is known for building beautiful, fast websites without writing code. But what if you want to add blogs, team profiles, or dynamic content that updates easily? That’s where Framer CMS comes in.
If you're a beginner and wondering what CMS means in Framer or how to use it, this guide is for you.
What is Framer CMS?
CMS means Content Management System. In simple words, it helps you manage the content on your website like blog posts, product listings, testimonials, or case studies, without editing the layout or design every time.
Framer uses it to automatically display your website's text, images, and links. Think of it as your website's brain. Framer CMS is a built-in content system inside Framer that helps you:
Add structured content like blog articles or portfolio items
Use dynamic content on different pages
Quickly edit content without affecting design
Why Use Framer CMS?
Framer CMS is designed to make your life easier, especially if you're not a developer. It’s a tool that helps you manage and update your website content like blog posts, team bios, product details, or FAQs, without needing to redesign the page every time.
You don’t need to understand coding, plugins, or backend systems. Moreover, you get a clean, visual interface where you can type in your content, upload images, and connect that content directly to your design. Framer handles the behind-the-scenes work, so everything looks great and works perfectly.
It’s fast, simple, and powerful for a personal portfolio, startup website, or an online blog. Even as your website grows, Framer CMS keeps you organized and in control.
That’s why so many designers, creators, and teams love Framer CMS. It gives you the freedom to focus on your content and design, without getting stuck in complicated tools or messy workflows. Here’s why many creators and teams love it:
No Code Needed
You don’t need to be a developer or write any code to use Framer CMS. Everything is visual and drag-and-drop. Whether you're adding a blog post, updating a product name, or changing an image, it’s all just a few clicks away. Framer handles the technical side, so you can focus on content and design without getting stuck in code.
Perfect for:
Bloggers
Small business owners
Designers who don’t want to code
Centralized Editing
With Framer CMS, all your content is stored in one central place. If you're showing the same content in multiple sections (like a product name or a testimonial), you only need to update it once in the CMS. Your entire site will be updated automatically-no need to change it manually.
Benefits:
Saves time
Reduces mistakes
Keeps your website consistent
Dynamic Pages
Want to build a blog or portfolio with 100+ pages? Framer CMS makes that easy. When you create a design for one item (like a blog post), Framer automatically generates dynamic pages for every item in your collection. That means you can manage dozens or even hundreds of pages without repeating design work.
Examples:
Blog posts (/blog/post-title)
Product pages (/products/item-name)
Team profiles (/team/member-name)
Perfect for Teams
Framer CMS allows team members to manage content separately from the design. Designers can focus on visuals, while marketers or writers update the CMS. This clear separation makes it easier to collaborate without stepping on each other’s toes.
Ideal for:
Agencies
Startups
Content marketing teams
Finally, Framer CMS is perfect if you want:
Easy content updates
Central control of your website’s info
Automatic page generation
Smooth team collaboration
Framer CMS vs Traditional (WordPress) CMS
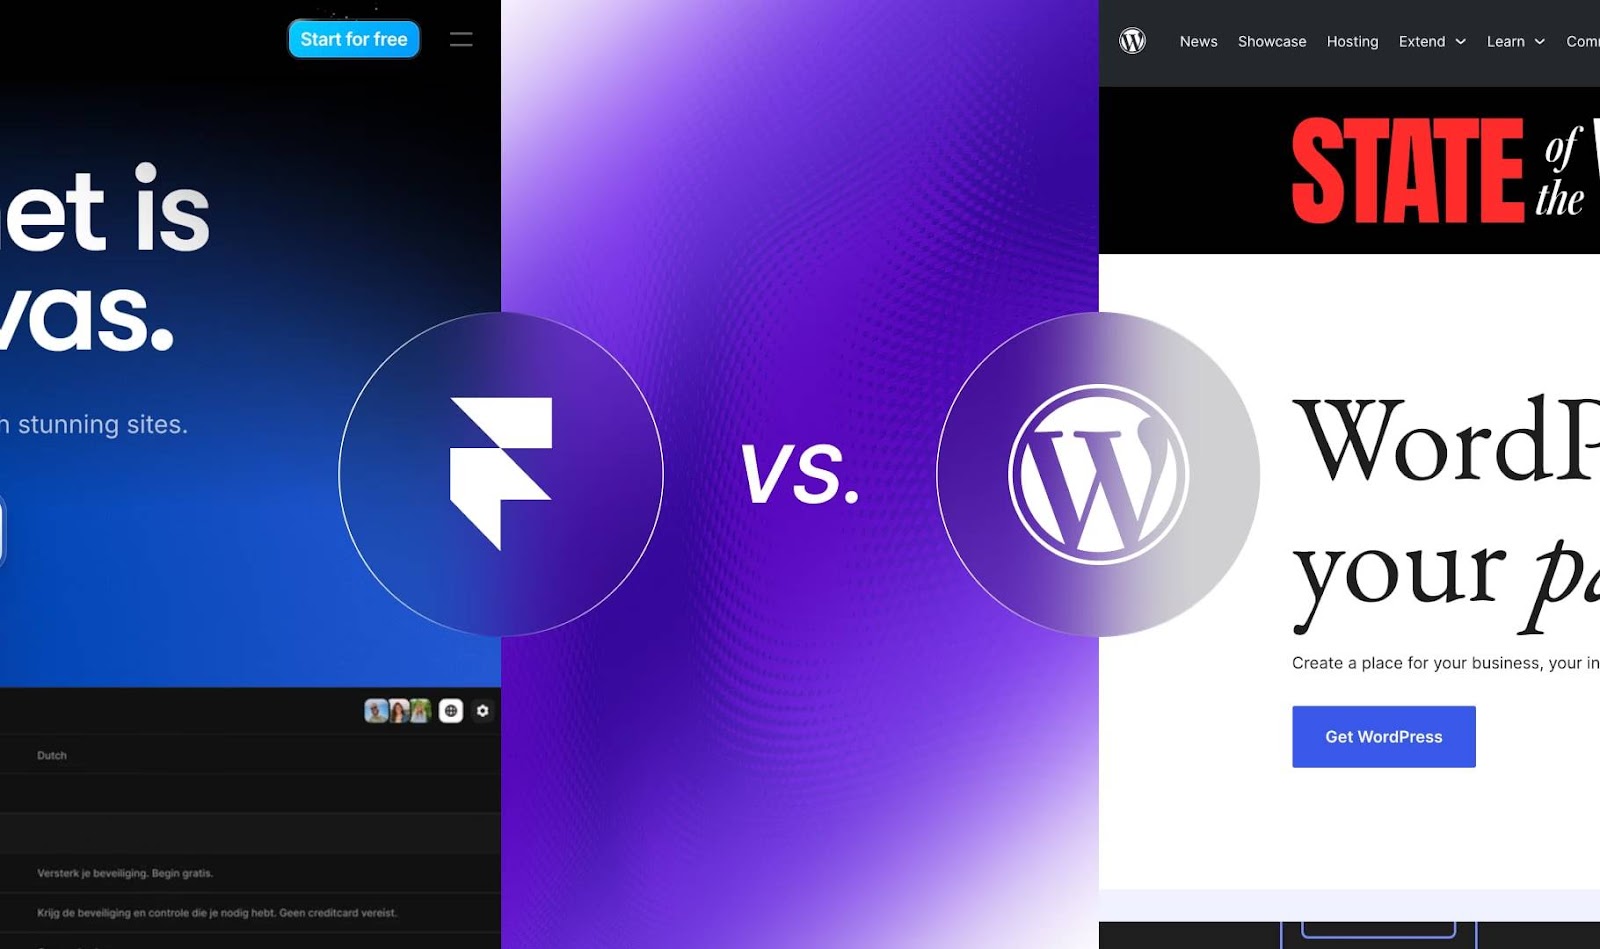
Feature | Framer CMS | Traditional CMS (WordPress) |
Design Control | Visual and real-time | Template-based |
Coding Needed | No | Sometimes |
Content Structure | Fully customizable | Fixed or plugin-dependent |
Learning Curve | Easy for Framer users | Steeper for non-tech users |
Best Use | Design-first websites | Content-heavy or complex sites |
Basic Ideas in Framer CMS
When you're just getting started with Framer CMS, you'll find a few basic concepts. When you know what these concepts mean, they're easy to understand. Here’s a simple summary of the core ideas that make Framer CMS work.
CMS Collection
A CMS Collection is like a folder that holds a group of related items. Each item inside this folder follows the same structure. For example, if you have a blog on your website, you can create a "Blog Posts" collection. Each article in this collection would have its own title, image, content, and author.
Also, you can create collections for team members with their names, roles, photos, projects or portfolio work, products in your online store, and testimonials.
CMS Fields
CMS Fields are included in every CMS Collection. These are the different types of information you want to store for each item. Think of them as labeled boxes where you put specific content.
For example, a blog post item includes data like title, date, author, image, and content.
You can also add custom fields like "Category," "Tags," or even "Estimated Reading Time" depending on what your project needs. CMS Fields make your content flexible and reusable, saving time when designing.
Dynamic Pages
One of the coolest features in Framer CMS is Dynamic Pages. For every item in your collection, Framer will automatically use the design layout you create for an individual item, like a blog post.
For example:
You design a single blog layout once.
You have 10 blog posts in your CMS Collection.
Framer creates 10 unique blog pages, one for each post, instantly.
These pages get clean URLs like /blog/my-first-post, /blog/design-tips, and so on, making them great for SEO and easy to share.
No need to manually create or duplicate pages. Framer does it all for you behind the scenes.
Content Bindings
After adding your content to the CMS, you'll need to use Bindings to display it on your website. Binding simply means linking a design element like text, images, or buttons to a CMS field.
Add a text box in your design and bind it to the title field of your blog post, add an image and bind it to the Image field. With Framer, your blog post page will now display the correct title and image automatically.
Bindings help you create flexible, content-driven designs that update themselves when you change a CMS.
Step by Step Guide: How to Use Framer CMS
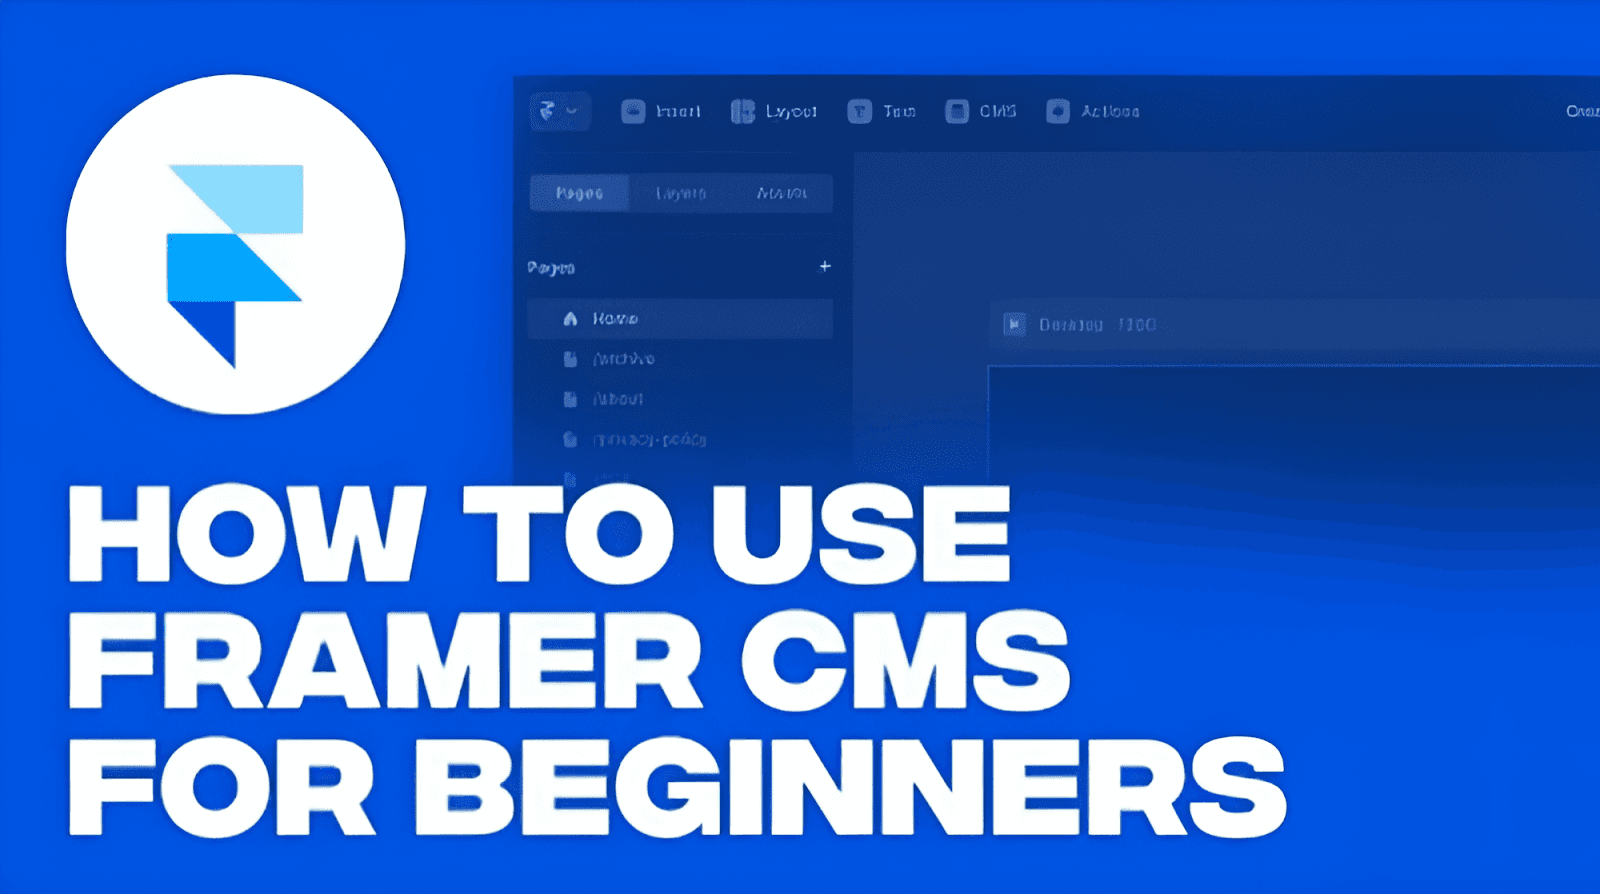
If you're using Framer CMS for the first time, don’t worry it’s a smooth and visual process. You don’t need to write a single line of code. Just follow these easy steps to build a dynamic, content-powered website.
Step 1: Create a CMS Collection
The first step is to set up a collection of similar content items. The following steps will guide you through creating a CMS collection:
1. Open your Framer project.
2. On the left side, find and click the CMS tab.
3. Click on “New Collection.”
4. Give your collection a name, like “Blog Posts,” “Team Members,” or “Products” based on what you're designing.
5. Now add your CMS fields- for a blog, you might add:
Title (Text)
Author (Text)
Date (Date Picker)
Image (Image)
Content (Rich Text)
Step 2: Add CMS Items
When your collection is ready, you can add content items.
1. Click on your newly created collection
2. Hit the “New Item” button
3. You’ll see the fields you just created
Add the blog title
Write the content
Upload a featured image
Choose the publish date
You can repeat this step to add more items. There is no limit to how many you can add.
Step 3: Design a Dynamic Page
Framer will automatically build pages for each item in your collection based on the template layout you design.
1. Go to the Pages tab and create a new page
2. Use a name like blog/slug
3. Design your layout visually:
Add a title text box
Add an image frame
Add a text box for the article content
Add author name and publish date
4. Now bind each design element to the correct CMS field:
Click on a text box and choose “Connect to CMS” option
Link Title box to “Title” field
Link Image to “Image” field
Link Text content to “Content” field
Step 4: Preview and Publish
Before you go live, it’s good to preview your work and make sure everything looks great.
1. Use the Preview button
2. Test the links and check
3. If everything is okay, click the Publish button.
Final Thoughts
If you’re new to website building, Framer CMS is a smart and simple way to manage your content without getting overwhelmed. It combines the freedom of visual design with the power of structured content with no coding, plugins, or complicated systems involved.
By using Framer CMS, you can organize, dynamically update, and launch product collections. You can build once and update content whenever you need, all from one place.
FAQs About Framer CMS
What is Framer CMS and how does it work?
Framer CMS is a built-in content management system in Framer that helps you create and manage dynamic website content without coding. You can store information like blog posts, product details, or portfolio items in CMS collections, then connect that data to pages. This allows you to update your Framer website content in one place while the changes automatically appear across the site.
Is Framer CMS good for beginners?
Framer CMS for beginners is easy to learn because it uses a visual interface instead of complex coding. Beginners can create CMS collections, dynamic pages, and blog content using simple tools. The platform is designed for designers, marketers, and creators who want to manage content on a Framer website without technical skills.
How do you create dynamic pages using Framer CMS?
To create dynamic pages with Framer CMS, you first create a CMS collection for your content, such as blog posts or case studies. Then you design a CMS template page and connect elements like titles, images, and text fields to the collection data. Each item in the CMS automatically generates a new page on your Framer website.
What can you build with Framer CMS?
You can build many types of websites using Framer CMS, including blogs, portfolios, documentation sites, landing pages, and directories. Because the CMS allows structured content, it is ideal for websites that require frequent updates and organized content management.
How is Framer CMS different from WordPress CMS?
Framer CMS focuses on simplicity and visual design, while WordPress CMS offers more plugins and customization. Framer provides built-in hosting, design tools, and CMS features in one platform. WordPress may be more flexible for advanced projects, but Framer CMS websites are often easier to design and maintain.
Can you create a blog using Framer CMS?
Framer CMS is commonly used to create blogs. You can create a blog CMS collection with fields such as title, author, publish date, featured image, and article content. Each blog post automatically generates a page, making it simple to manage and update a Framer blog website.
How do you add and manage content in Framer CMS?
You can add content to Framer CMS collections by opening the CMS panel and creating new items. Each item contains fields such as text, images, links, or rich content. Updating these fields automatically updates the related Framer website pages, making content management fast and efficient.
Is Framer CMS good for SEO?
Yes, Framer CMS supports SEO features that help websites rank in search engines. You can add meta titles, meta descriptions, alt text for images, and clean URLs. These features help improve Framer SEO performance and increase visibility in Google search results.
How do you connect a CMS collection to a Framer page?
To connect a CMS collection in Framer, you create a CMS template page and link page elements to the CMS fields. For example, you can connect a title element to the CMS title field or an image element to the CMS image field. This connection allows the page to display dynamic CMS content automatically.
What are the limitations of Framer CMS?
While Framer CMS is powerful and easy to use, it has some limitations. It currently offers fewer third-party plugins and advanced CMS customization options compared to platforms like WordPress. However, for most modern websites, blogs, and landing pages, Framer CMS provides enough features to manage content efficiently.
Start now and experience how simple and powerful FramerCMS is.
This blog is a simple guide to managing content in Framer for beginners. Framer is known for building beautiful, fast websites without writing code. But what if you want to add blogs, team profiles, or dynamic content that updates easily? That’s where Framer CMS comes in.
If you're a beginner and wondering what CMS means in Framer or how to use it, this guide is for you.
What is Framer CMS?
CMS means Content Management System. In simple words, it helps you manage the content on your website like blog posts, product listings, testimonials, or case studies, without editing the layout or design every time.
Framer uses it to automatically display your website's text, images, and links. Think of it as your website's brain. Framer CMS is a built-in content system inside Framer that helps you:
Add structured content like blog articles or portfolio items
Use dynamic content on different pages
Quickly edit content without affecting design
Why Use Framer CMS?
Framer CMS is designed to make your life easier, especially if you're not a developer. It’s a tool that helps you manage and update your website content like blog posts, team bios, product details, or FAQs, without needing to redesign the page every time.
You don’t need to understand coding, plugins, or backend systems. Moreover, you get a clean, visual interface where you can type in your content, upload images, and connect that content directly to your design. Framer handles the behind-the-scenes work, so everything looks great and works perfectly.
It’s fast, simple, and powerful for a personal portfolio, startup website, or an online blog. Even as your website grows, Framer CMS keeps you organized and in control.
That’s why so many designers, creators, and teams love Framer CMS. It gives you the freedom to focus on your content and design, without getting stuck in complicated tools or messy workflows. Here’s why many creators and teams love it:
No Code Needed
You don’t need to be a developer or write any code to use Framer CMS. Everything is visual and drag-and-drop. Whether you're adding a blog post, updating a product name, or changing an image, it’s all just a few clicks away. Framer handles the technical side, so you can focus on content and design without getting stuck in code.
Perfect for:
Bloggers
Small business owners
Designers who don’t want to code
Centralized Editing
With Framer CMS, all your content is stored in one central place. If you're showing the same content in multiple sections (like a product name or a testimonial), you only need to update it once in the CMS. Your entire site will be updated automatically-no need to change it manually.
Benefits:
Saves time
Reduces mistakes
Keeps your website consistent
Dynamic Pages
Want to build a blog or portfolio with 100+ pages? Framer CMS makes that easy. When you create a design for one item (like a blog post), Framer automatically generates dynamic pages for every item in your collection. That means you can manage dozens or even hundreds of pages without repeating design work.
Examples:
Blog posts (/blog/post-title)
Product pages (/products/item-name)
Team profiles (/team/member-name)
Perfect for Teams
Framer CMS allows team members to manage content separately from the design. Designers can focus on visuals, while marketers or writers update the CMS. This clear separation makes it easier to collaborate without stepping on each other’s toes.
Ideal for:
Agencies
Startups
Content marketing teams
Finally, Framer CMS is perfect if you want:
Easy content updates
Central control of your website’s info
Automatic page generation
Smooth team collaboration
Framer CMS vs Traditional (WordPress) CMS
Feature | Framer CMS | Traditional CMS (WordPress) |
Design Control | Visual and real-time | Template-based |
Coding Needed | No | Sometimes |
Content Structure | Fully customizable | Fixed or plugin-dependent |
Learning Curve | Easy for Framer users | Steeper for non-tech users |
Best Use | Design-first websites | Content-heavy or complex sites |
Basic Ideas in Framer CMS
When you're just getting started with Framer CMS, you'll find a few basic concepts. When you know what these concepts mean, they're easy to understand. Here’s a simple summary of the core ideas that make Framer CMS work.
CMS Collection
A CMS Collection is like a folder that holds a group of related items. Each item inside this folder follows the same structure. For example, if you have a blog on your website, you can create a "Blog Posts" collection. Each article in this collection would have its own title, image, content, and author.
Also, you can create collections for team members with their names, roles, photos, projects or portfolio work, products in your online store, and testimonials.
CMS Fields
CMS Fields are included in every CMS Collection. These are the different types of information you want to store for each item. Think of them as labeled boxes where you put specific content.
For example, a blog post item includes data like title, date, author, image, and content.
You can also add custom fields like "Category," "Tags," or even "Estimated Reading Time" depending on what your project needs. CMS Fields make your content flexible and reusable, saving time when designing.
Dynamic Pages
One of the coolest features in Framer CMS is Dynamic Pages. For every item in your collection, Framer will automatically use the design layout you create for an individual item, like a blog post.
For example:
You design a single blog layout once.
You have 10 blog posts in your CMS Collection.
Framer creates 10 unique blog pages, one for each post, instantly.
These pages get clean URLs like /blog/my-first-post, /blog/design-tips, and so on, making them great for SEO and easy to share.
No need to manually create or duplicate pages. Framer does it all for you behind the scenes.
Content Bindings
After adding your content to the CMS, you'll need to use Bindings to display it on your website. Binding simply means linking a design element like text, images, or buttons to a CMS field.
Add a text box in your design and bind it to the title field of your blog post, add an image and bind it to the Image field. With Framer, your blog post page will now display the correct title and image automatically.
Bindings help you create flexible, content-driven designs that update themselves when you change a CMS.
Step by Step Guide: How to Use Framer CMS
If you're using Framer CMS for the first time, don’t worry it’s a smooth and visual process. You don’t need to write a single line of code. Just follow these easy steps to build a dynamic, content-powered website.
Step 1: Create a CMS Collection
The first step is to set up a collection of similar content items. The following steps will guide you through creating a CMS collection:
1. Open your Framer project.
2. On the left side, find and click the CMS tab.
3. Click on “New Collection.”
4. Give your collection a name, like “Blog Posts,” “Team Members,” or “Products” based on what you're designing.
5. Now add your CMS fields- for a blog, you might add:
Title (Text)
Author (Text)
Date (Date Picker)
Image (Image)
Content (Rich Text)
Step 2: Add CMS Items
When your collection is ready, you can add content items.
1. Click on your newly created collection
2. Hit the “New Item” button
3. You’ll see the fields you just created
Add the blog title
Write the content
Upload a featured image
Choose the publish date
You can repeat this step to add more items. There is no limit to how many you can add.
Step 3: Design a Dynamic Page
Framer will automatically build pages for each item in your collection based on the template layout you design.
1. Go to the Pages tab and create a new page
2. Use a name like blog/slug
3. Design your layout visually:
Add a title text box
Add an image frame
Add a text box for the article content
Add author name and publish date
4. Now bind each design element to the correct CMS field:
Click on a text box and choose “Connect to CMS” option
Link Title box to “Title” field
Link Image to “Image” field
Link Text content to “Content” field
Step 4: Preview and Publish
Before you go live, it’s good to preview your work and make sure everything looks great.
1. Use the Preview button
2. Test the links and check
3. If everything is okay, click the Publish button.
Final Thoughts
If you’re new to website building, Framer CMS is a smart and simple way to manage your content without getting overwhelmed. It combines the freedom of visual design with the power of structured content with no coding, plugins, or complicated systems involved.
By using Framer CMS, you can organize, dynamically update, and launch product collections. You can build once and update content whenever you need, all from one place.
FAQs About Framer CMS
What is Framer CMS and how does it work?
Framer CMS is a built-in content management system in Framer that helps you create and manage dynamic website content without coding. You can store information like blog posts, product details, or portfolio items in CMS collections, then connect that data to pages. This allows you to update your Framer website content in one place while the changes automatically appear across the site.
Is Framer CMS good for beginners?
Framer CMS for beginners is easy to learn because it uses a visual interface instead of complex coding. Beginners can create CMS collections, dynamic pages, and blog content using simple tools. The platform is designed for designers, marketers, and creators who want to manage content on a Framer website without technical skills.
How do you create dynamic pages using Framer CMS?
To create dynamic pages with Framer CMS, you first create a CMS collection for your content, such as blog posts or case studies. Then you design a CMS template page and connect elements like titles, images, and text fields to the collection data. Each item in the CMS automatically generates a new page on your Framer website.
What can you build with Framer CMS?
You can build many types of websites using Framer CMS, including blogs, portfolios, documentation sites, landing pages, and directories. Because the CMS allows structured content, it is ideal for websites that require frequent updates and organized content management.
How is Framer CMS different from WordPress CMS?
Framer CMS focuses on simplicity and visual design, while WordPress CMS offers more plugins and customization. Framer provides built-in hosting, design tools, and CMS features in one platform. WordPress may be more flexible for advanced projects, but Framer CMS websites are often easier to design and maintain.
Can you create a blog using Framer CMS?
Framer CMS is commonly used to create blogs. You can create a blog CMS collection with fields such as title, author, publish date, featured image, and article content. Each blog post automatically generates a page, making it simple to manage and update a Framer blog website.
How do you add and manage content in Framer CMS?
You can add content to Framer CMS collections by opening the CMS panel and creating new items. Each item contains fields such as text, images, links, or rich content. Updating these fields automatically updates the related Framer website pages, making content management fast and efficient.
Is Framer CMS good for SEO?
Yes, Framer CMS supports SEO features that help websites rank in search engines. You can add meta titles, meta descriptions, alt text for images, and clean URLs. These features help improve Framer SEO performance and increase visibility in Google search results.
How do you connect a CMS collection to a Framer page?
To connect a CMS collection in Framer, you create a CMS template page and link page elements to the CMS fields. For example, you can connect a title element to the CMS title field or an image element to the CMS image field. This connection allows the page to display dynamic CMS content automatically.
What are the limitations of Framer CMS?
While Framer CMS is powerful and easy to use, it has some limitations. It currently offers fewer third-party plugins and advanced CMS customization options compared to platforms like WordPress. However, for most modern websites, blogs, and landing pages, Framer CMS provides enough features to manage content efficiently.
Start now and experience how simple and powerful FramerCMS is.


Read more articles

Feb 28, 2026
Best Framer Templates with Parallax Scrolling
Feb 28, 2026
Best Framer Templates with Parallax Scrolling

Feb 22, 2026
Framer Canvas: Design Without Limits
Feb 22, 2026
Framer Canvas: Design Without Limits
Feb 19, 2026
Best Companies Specializing in Framer Website Templates in 2026
Feb 19, 2026
Best Companies Specializing in Framer Website Templates in 2026
Find perfect template for your website & get 50% discount coupon

Templates
Copyright © 2026 FramerBite, A Part of Creetfy LLC. All Rights Reserved
Follow us on Twitter
Find perfect template for your website & get 50% discount coupon
Templates
Copyright © 2026 FramerBite, A Part of Creetfy LLC. All Rights Reserved
Follow us on Twitter
Find perfect template for your website & get 50% discount coupon
Templates
Copyright © 2026 FramerBite, A Part of Creetfy LLC. All Rights Reserved
Follow us on Twitter
Find perfect template for your website & get 50% discount coupon
Templates
Copyright © 2026 FramerBite, A Part of Creetfy LLC. All Rights Reserved
Follow us on Twitter