5 Framer Animation Techniques for Beginners by FramerBite Team
Last Updated on:
Author:
Framerbite
Framerbite

Framer animation techniques are simple, fun, and perfect for beginners who want to make websites feel alive. If you are new to Framer, don’t worry, animations may look complex, but with clear steps and easy tools, you can create smooth, eye-catching effects without writing any code. Animations in Framer help your website look more professional, build user interest, and guide visitors through your content in a friendly way.
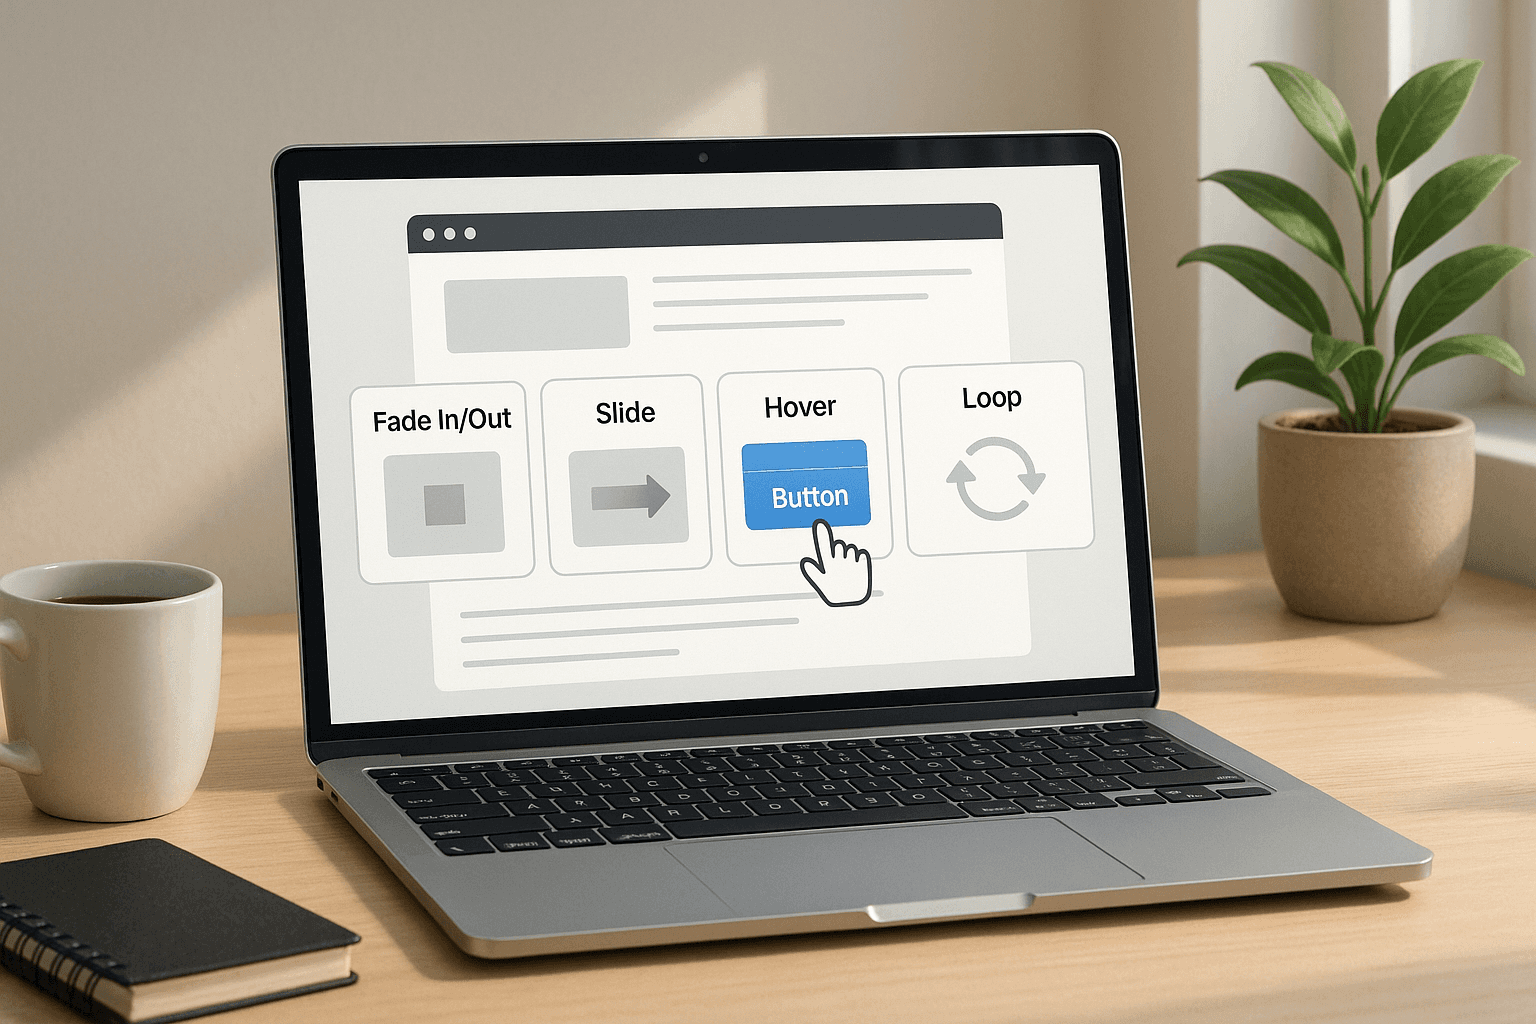
Framer is an excellent no-code instrument that can help you develop virtual platforms that most interactive systems are up and running expertly, even as amateurs. Animations can spruce up your site, draw your visitors attention to vital information, and make the entire experience seem cooperative. In this guide, the FramerBite team gives you 5 easy animation tricks that you can use right away. All of them animation techniques for beginners. Explore more Framer tutorials on the FramerBite Blog.
1. Fade In / Fade Out Animations - Basic Animation Techniques in Framer
Fade In is an animation effect that makes an element gradually appear on the screen. At the start, the element is completely invisible with an opacity of 0%, and over time it slowly becomes fully visible at 100% opacity. The element itself does not move; only its visibility changes gradually. For example, a heading can slowly appear when a page loads, or an image can fade in as you scroll down.
Fade Out is an animation effect that makes an element gradually disappear from the screen. At the start, the element is fully visible with an opacity of 100%, and over time it slowly becomes completely invisible at 0% opacity. The element itself does not move; only its visibility changes gradually. For example, a notification box can slowly fade out after a few seconds, or an image can disappear as you scroll past it.
How to use in Framer:
Click on your element, like a picture or text.
Go to the Animation or Motion settings.
Set Opacity from 0% → 100% to make it appear, or 100% → 0% to make it disappear.
Adjust duration to make it faster or slower.
FramerBite team’s Tips: Use fade-in on headings, buttons, or images to make your website feel smooth and polished, giving users a gentle, professional visual experience.
Try these Best Framer Templates for New Startups & Founders.
2. Slide / Move Animations
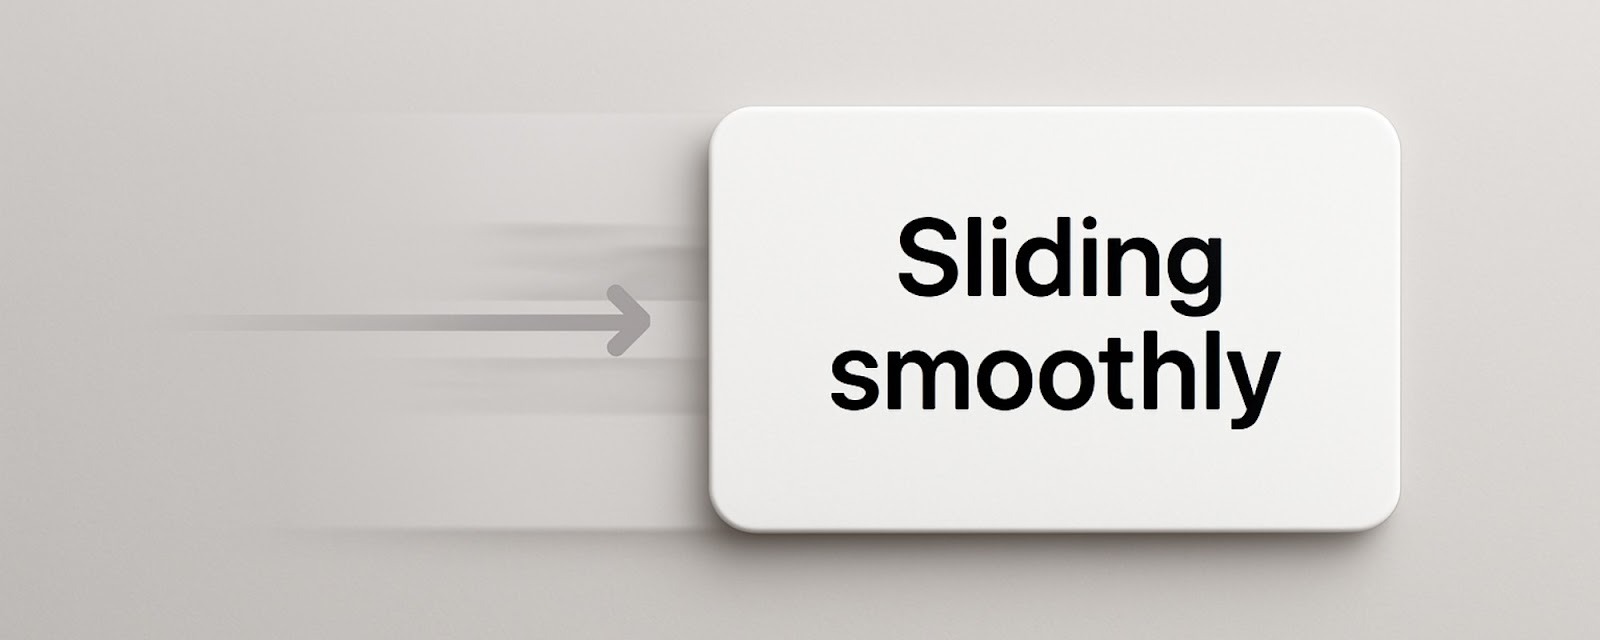
If you're looking for cool animation techniques in Framer that add motion and excitement, slide or move animations are the perfect choice. Slide / Move Animations make an element gradually move from one position to another on the screen. At the start, the element can be positioned off-screen or away from its final spot.
Over time, it smoothly slides into its final position. The movement can be horizontal, vertical, or diagonal, depending on the X and Y coordinates you set. For example, an image can slide in from the left when the page loads, or a text block can move up into view as you scroll down.
How to use it:
Select the element.
Set the X or Y position at the start (e.g., off-screen).
Animate it to the final position on page load or scroll.
FramerBite Tip: Combine slide animations with fade-in to make images, text, or buttons enter the screen smoothly, creating a dynamic and engaging effect.
3. Hover Animations
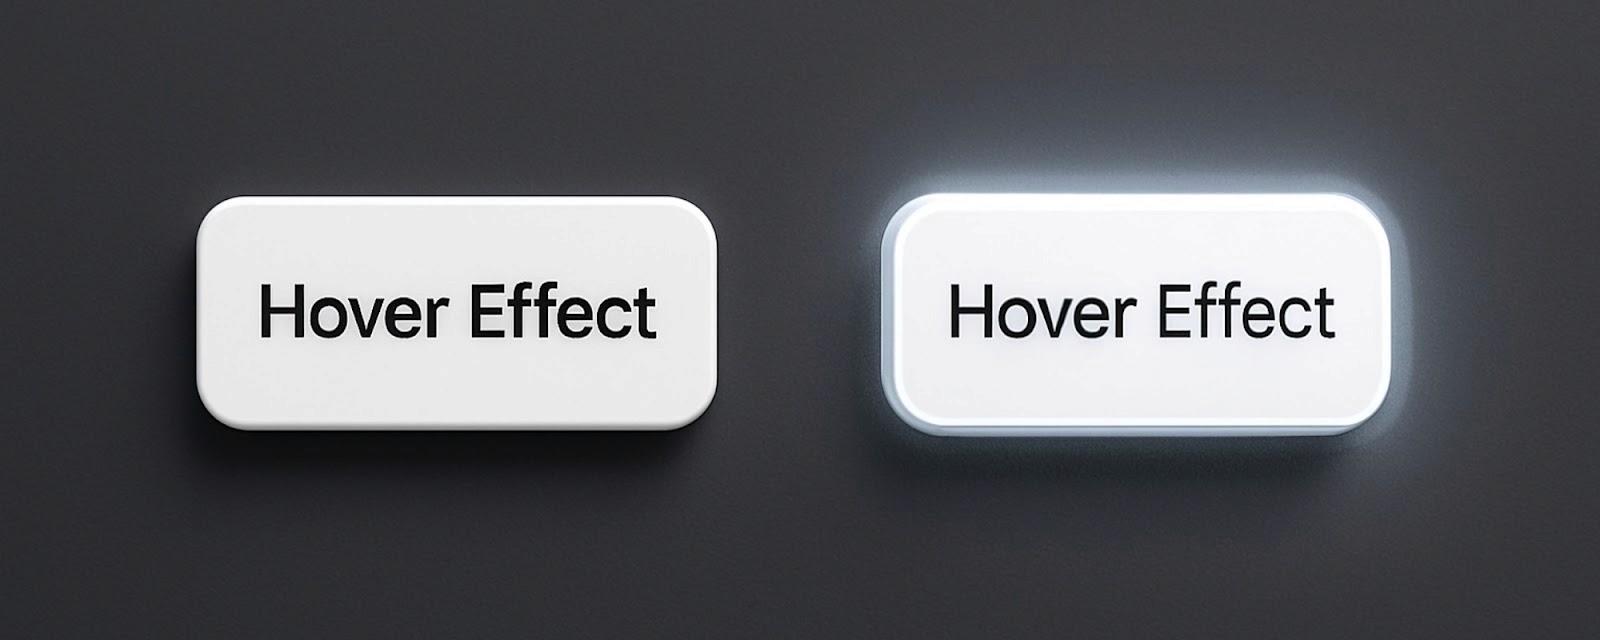
Hover animations are one of the most common Framer animation techniques, used to make elements feel interactive and alive. This tricks create a visual change when a user moves their mouse over an element. The element reacts by changing properties like size, color, rotation, or opacity, giving immediate feedback to the user. The element itself doesn’t move by default; only the visual appearance changes while the mouse is hovering. For example, a button can slightly grow larger, or an image can tilt a little when hovered over, signaling that it’s interactive.
How to use it:
Select a button, card, or image.
Go to Interactions → While Hovering.
Change properties like scale, rotation, or opacity.
FramerBite Tip: Use hover effects on buttons, cards, or images to make your site feel interactive and guide users naturally without overwhelming the design.
4. Scroll-Based Animations
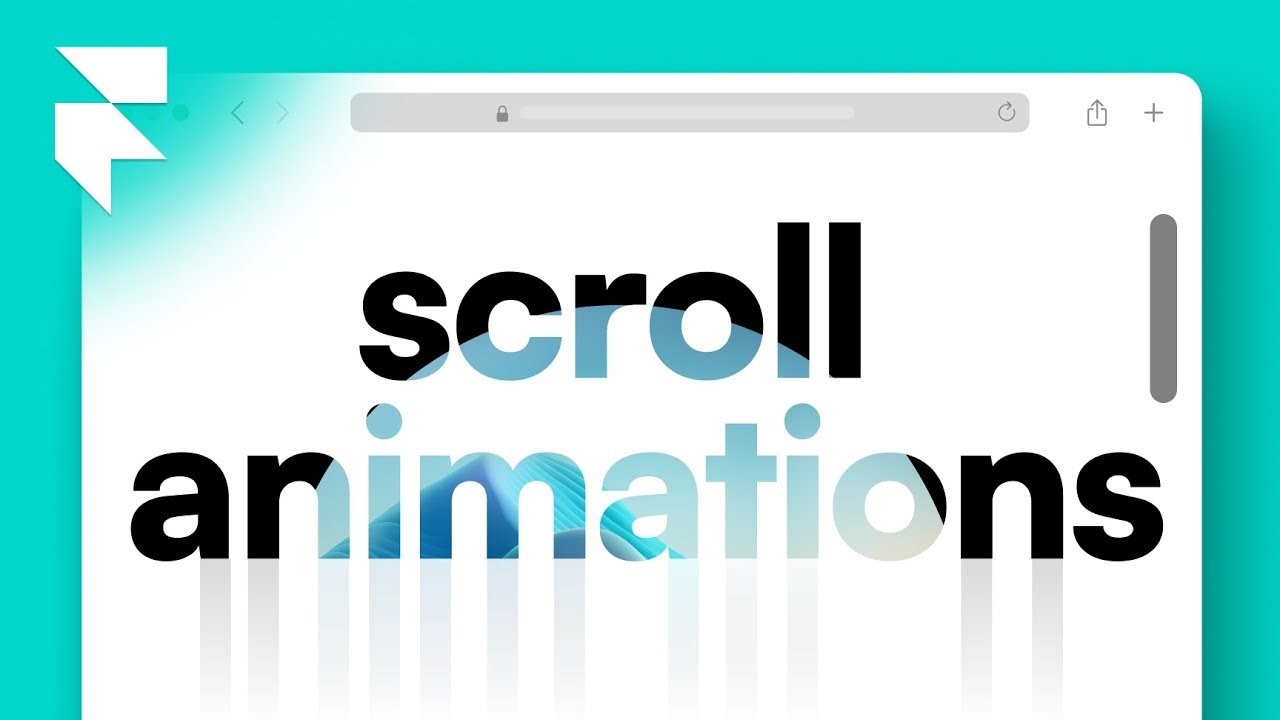
Scroll-Based Animations make elements change as the user scrolls down or up the page. This is one of the cool animation techniques that feel advanced but are actually very easy to build using Framer. The animation can be a fade, slide, scale, or any movement that happens gradually depending on the scroll position. The element itself doesn’t move on its own; it responds to the user’s scrolling. For example, a heading can slide in while fading as you scroll down, or an image can slowly appear as it enters the viewport.
How to use it:
Select the element.
Add a Scroll Interaction.
Choose animations like fade, slide, or scale that trigger as the user scrolls.
FramerBite Tip: Use scroll animations to reveal text, images, or sections gradually, making long pages feel interactive and engaging without overwhelming the viewer.
If you don’t want to manually set up animations, you can start with animation-ready Framer templates for beginners that already include fade, slide, and hover effects.
5. Auto Loop/Infinite Animations

Loop animations are perfect when you want to experiment with all animation techniques Framer offers in a smooth continuous motion. Auto Loop/Infinite Animations make an element move, rotate, or change continuously in a repeating cycle. The element keeps animating over and over without stopping, creating a sense of motion.
The animation can involve rotation, scaling, position changes, or other visual effects. For example, an icon can spin endlessly, or a decorative shape can bounce repeatedly to draw attention subtly.
How to use it:
Select your element.
Choose Animate → Loop.
Set properties like rotation, scale, or movement.
FramerBite Tip: Use loop animations for icons, buttons, or decorative elements to add gentle motion and make your website feel lively without distracting users.
These Framer animation techniques are simple yet powerful. Whether you're testing Framer animation techniques for beginners or moving into advanced animation techniques, remember that the best animations are smooth, meaningful, and enhance user experience.
Visit our full collection of Framer templates here.
How to Combine Animations?
Sometimes, one animation is not sufficient to keep the smooth and lively feeling of a website, which, by the way, can be achieved by combining two animations on the same element. Combining effects like slide, fade, or hover opens the door to more advanced animation techniques without needing any code. This way, the effect can be made neat like a heading sliding from the left and fading in at the same time. Or maybe in a button growing slightly on hover, scale property, and changing its color. Framer allows more than one animation on an element, and no coding is needed to do it.
Common Animation Mistakes to Avoid
Although we talked about best practices, you should make your animations subtle and simple. The purpose of animations is to direct the customer’s attention and to make their experience better. They shouldn’t distract from it. Remember to test your animations on all types of devices.
Even the simplest animations can make your website look odd or too cluttered if they are not used wisely. Here are the mistakes that beginners often make:
Too many animations on one page: More than one dynamic element can distract a user, making the website too noisy. It is better to animate only the most important objects.
Too quickly or too slowly animated elements: If an animation is too fast, it can be perceived in a split second, and too slow animations can make your website heavy.
Animations not combinable: Some of the effects do not mix, and seeing them together is disturbing or funny.
Conclusion
Animations in Framer are simple to implement but can dramatically improve the look and feel of your website. By using fade-in, fade-out, slide, hover, scroll-based, and loop animations, even beginners can create smooth, engaging, and professional websites. Start experimenting with these techniques today, and bring your pages to life!
FAQs- Framer Animation Techniques
1. What is the easiest Framer animation for beginners?
The easiest would be Fade In. It simply makes elements gradually show up on the screen, which you can apply to your text, image, or button in just a few simple clicks.
2. Can I combine multiple animations on one element?
Yes, using Framer, you can easily apply animations such as fade + slide or hover + scale for a more dynamic and smoother effect. However, remember not to overdo it, as the fewer animations your webpage contains, the better.
3. How do I control the speed of animations?
You can control the duration of each animation using the animation or motion panel, where duration can be adjusted. The shorter the duration, the faster the animation will be, while higher values provide for a slow and smooth transition.
4. Are hover animations only for buttons?
No, they can be applied to buttons, images, cards, or any other page element. These animations aim to provide users with interactivity, changing how a certain element looks when a user moves the mouse over it.
5. How do I avoid making animations look messy?
Keep animations subtle, few, and consistent. Refrain from ‘drowning’ your page in moving elements, testing them on different devices.
Framer animation techniques are simple, fun, and perfect for beginners who want to make websites feel alive. If you are new to Framer, don’t worry, animations may look complex, but with clear steps and easy tools, you can create smooth, eye-catching effects without writing any code. Animations in Framer help your website look more professional, build user interest, and guide visitors through your content in a friendly way.
Framer is an excellent no-code instrument that can help you develop virtual platforms that most interactive systems are up and running expertly, even as amateurs. Animations can spruce up your site, draw your visitors attention to vital information, and make the entire experience seem cooperative. In this guide, the FramerBite team gives you 5 easy animation tricks that you can use right away. All of them animation techniques for beginners. Explore more Framer tutorials on the FramerBite Blog.
1. Fade In / Fade Out Animations - Basic Animation Techniques in Framer
Fade In is an animation effect that makes an element gradually appear on the screen. At the start, the element is completely invisible with an opacity of 0%, and over time it slowly becomes fully visible at 100% opacity. The element itself does not move; only its visibility changes gradually. For example, a heading can slowly appear when a page loads, or an image can fade in as you scroll down.
Fade Out is an animation effect that makes an element gradually disappear from the screen. At the start, the element is fully visible with an opacity of 100%, and over time it slowly becomes completely invisible at 0% opacity. The element itself does not move; only its visibility changes gradually. For example, a notification box can slowly fade out after a few seconds, or an image can disappear as you scroll past it.
How to use in Framer:
Click on your element, like a picture or text.
Go to the Animation or Motion settings.
Set Opacity from 0% → 100% to make it appear, or 100% → 0% to make it disappear.
Adjust duration to make it faster or slower.
FramerBite team’s Tips: Use fade-in on headings, buttons, or images to make your website feel smooth and polished, giving users a gentle, professional visual experience.
Try these Best Framer Templates for New Startups & Founders.
2. Slide / Move Animations
If you're looking for cool animation techniques in Framer that add motion and excitement, slide or move animations are the perfect choice. Slide / Move Animations make an element gradually move from one position to another on the screen. At the start, the element can be positioned off-screen or away from its final spot.
Over time, it smoothly slides into its final position. The movement can be horizontal, vertical, or diagonal, depending on the X and Y coordinates you set. For example, an image can slide in from the left when the page loads, or a text block can move up into view as you scroll down.
How to use it:
Select the element.
Set the X or Y position at the start (e.g., off-screen).
Animate it to the final position on page load or scroll.
FramerBite Tip: Combine slide animations with fade-in to make images, text, or buttons enter the screen smoothly, creating a dynamic and engaging effect.
3. Hover Animations
Hover animations are one of the most common Framer animation techniques, used to make elements feel interactive and alive. This tricks create a visual change when a user moves their mouse over an element. The element reacts by changing properties like size, color, rotation, or opacity, giving immediate feedback to the user. The element itself doesn’t move by default; only the visual appearance changes while the mouse is hovering. For example, a button can slightly grow larger, or an image can tilt a little when hovered over, signaling that it’s interactive.
How to use it:
Select a button, card, or image.
Go to Interactions → While Hovering.
Change properties like scale, rotation, or opacity.
FramerBite Tip: Use hover effects on buttons, cards, or images to make your site feel interactive and guide users naturally without overwhelming the design.
4. Scroll-Based Animations
Scroll-Based Animations make elements change as the user scrolls down or up the page. This is one of the cool animation techniques that feel advanced but are actually very easy to build using Framer. The animation can be a fade, slide, scale, or any movement that happens gradually depending on the scroll position. The element itself doesn’t move on its own; it responds to the user’s scrolling. For example, a heading can slide in while fading as you scroll down, or an image can slowly appear as it enters the viewport.
How to use it:
Select the element.
Add a Scroll Interaction.
Choose animations like fade, slide, or scale that trigger as the user scrolls.
FramerBite Tip: Use scroll animations to reveal text, images, or sections gradually, making long pages feel interactive and engaging without overwhelming the viewer.
If you don’t want to manually set up animations, you can start with animation-ready Framer templates for beginners that already include fade, slide, and hover effects.
5. Auto Loop/Infinite Animations
Loop animations are perfect when you want to experiment with all animation techniques Framer offers in a smooth continuous motion. Auto Loop/Infinite Animations make an element move, rotate, or change continuously in a repeating cycle. The element keeps animating over and over without stopping, creating a sense of motion.
The animation can involve rotation, scaling, position changes, or other visual effects. For example, an icon can spin endlessly, or a decorative shape can bounce repeatedly to draw attention subtly.
How to use it:
Select your element.
Choose Animate → Loop.
Set properties like rotation, scale, or movement.
FramerBite Tip: Use loop animations for icons, buttons, or decorative elements to add gentle motion and make your website feel lively without distracting users.
These Framer animation techniques are simple yet powerful. Whether you're testing Framer animation techniques for beginners or moving into advanced animation techniques, remember that the best animations are smooth, meaningful, and enhance user experience.
Visit our full collection of Framer templates here.
How to Combine Animations?
Sometimes, one animation is not sufficient to keep the smooth and lively feeling of a website, which, by the way, can be achieved by combining two animations on the same element. Combining effects like slide, fade, or hover opens the door to more advanced animation techniques without needing any code. This way, the effect can be made neat like a heading sliding from the left and fading in at the same time. Or maybe in a button growing slightly on hover, scale property, and changing its color. Framer allows more than one animation on an element, and no coding is needed to do it.
Common Animation Mistakes to Avoid
Although we talked about best practices, you should make your animations subtle and simple. The purpose of animations is to direct the customer’s attention and to make their experience better. They shouldn’t distract from it. Remember to test your animations on all types of devices.
Even the simplest animations can make your website look odd or too cluttered if they are not used wisely. Here are the mistakes that beginners often make:
Too many animations on one page: More than one dynamic element can distract a user, making the website too noisy. It is better to animate only the most important objects.
Too quickly or too slowly animated elements: If an animation is too fast, it can be perceived in a split second, and too slow animations can make your website heavy.
Animations not combinable: Some of the effects do not mix, and seeing them together is disturbing or funny.
Conclusion
Animations in Framer are simple to implement but can dramatically improve the look and feel of your website. By using fade-in, fade-out, slide, hover, scroll-based, and loop animations, even beginners can create smooth, engaging, and professional websites. Start experimenting with these techniques today, and bring your pages to life!
FAQs- Framer Animation Techniques
1. What is the easiest Framer animation for beginners?
The easiest would be Fade In. It simply makes elements gradually show up on the screen, which you can apply to your text, image, or button in just a few simple clicks.
2. Can I combine multiple animations on one element?
Yes, using Framer, you can easily apply animations such as fade + slide or hover + scale for a more dynamic and smoother effect. However, remember not to overdo it, as the fewer animations your webpage contains, the better.
3. How do I control the speed of animations?
You can control the duration of each animation using the animation or motion panel, where duration can be adjusted. The shorter the duration, the faster the animation will be, while higher values provide for a slow and smooth transition.
4. Are hover animations only for buttons?
No, they can be applied to buttons, images, cards, or any other page element. These animations aim to provide users with interactivity, changing how a certain element looks when a user moves the mouse over it.
5. How do I avoid making animations look messy?
Keep animations subtle, few, and consistent. Refrain from ‘drowning’ your page in moving elements, testing them on different devices.


Read more articles

Feb 28, 2026
Best Framer Templates with Parallax Scrolling
Feb 28, 2026
Best Framer Templates with Parallax Scrolling

Feb 22, 2026
Framer Canvas: Design Without Limits
Feb 22, 2026
Framer Canvas: Design Without Limits

Feb 19, 2026
Best Companies Specializing in Framer Website Templates in 2026
Feb 19, 2026
Best Companies Specializing in Framer Website Templates in 2026
Find perfect template for your website & get 50% discount coupon

Templates
Copyright © 2026 FramerBite, A Part of Creetfy LLC. All Rights Reserved
Follow us on Twitter
Find perfect template for your website & get 50% discount coupon
Templates
Copyright © 2026 FramerBite, A Part of Creetfy LLC. All Rights Reserved
Follow us on Twitter
Find perfect template for your website & get 50% discount coupon
Templates
Copyright © 2026 FramerBite, A Part of Creetfy LLC. All Rights Reserved
Follow us on Twitter
Find perfect template for your website & get 50% discount coupon
Templates
Copyright © 2026 FramerBite, A Part of Creetfy LLC. All Rights Reserved
Follow us on Twitter